"Inspired by the Japanese art of swordsmithing, Dave began researching and presenting on the Japanese sword almost 30 years ago and study of the craft became a framework for his knife making. After living several years in Japan he spent a decade focusing specifically on studying classical tanto geometry, forging, mounting, and finishing techniques, applying them to his work."
Most of history was forged with steel that had no designated number or specified ingredient list. Historical smiths would interpret the quality and properties of steel based solely on careful observation and simple testing procedures.
To this day, Japanese swordsmiths work exclusively with unnumbered steel made with charcoal and iron sand in traditional smelting furnaces. They are trained and practiced in the art of understanding steel by studying it closely under different conditions. This article will discuss several basic techniques that can be used to determine the suitability of a piece of unknown reclaimed steel for making knives.
read on or see photos and more info here: http://islandblacksmith.ca/2016/12/testing-reclaimed-steel-for-knife-making/
Steel Overview
Simple steel is an alloy of mostly iron with a very small amount of carbon (generally less than 1%), and often other alloying metals in small amounts. Steels with high amounts of other ingredients will behave very differently to simple steels and can make it difficult to produce authentic results using traditional techniques.
Modern simple high carbon steel for making knives usually falls in the range of 0.5%-1.0% carbon and the vast majority of the rest is iron. There will often be manganese in some amount which assists in toughness but too much can increase hardening depth and make hamon difficult to control.
The initial goal of the tests described here is to eliminate the undesirable alloys from the scrap pile. Steel with around 0.3% carbon or less is structural or mild steel and will not harden to form a proper hamon or a durable cutting edge (though it is a useful practice material for learning to forge). Wrought iron has almost no carbon and will not harden. Cast iron is brittle and cannot be forged without crumbling. Tool steels and specialty steels with large amounts of other alloying ingredients may behave like simple carbon steel in one test but not in others.
The secondary goal is to dial in the performance of a suitable steel by testing different approaches to heat treating and tempering. Under relatively controlled conditions and repeated testing, certain aspects of temperature or clay placement can be refined and tailored to each specific piece of steel.
1. The History Test
The history test is by far the easiest way to eliminate most of the unwanted materials from prospective scrap. The idea of the test is to begin by identifying the characteristics of items based on their original design and past use. Most of the time, a clear identification on the history test allows a direct progression to the forge test.
If an item was formerly used as a spring, a cutting tool, or a wear-resistant part, it may have the right proportion of carbon to make a useful blade. Springs can come in suspension leaf or coil form, or agricultural parts that needed to flex and return such as hay rake tines. Cutting tools include files, rasps, chisels, saws, and lawn mowers. Wear resistant parts are often related to farming and may include harrow teeth, plowshares, cultivator tines, and bearings. Note that extremely wear resistant steels like grader plates are not useful as they are very difficult to file and polish.
2. The File Test
The file test provides an idea of relative hardness. Using a file on a rust-free corner of the sample, the amount of bite can indicate carbon content in a hardened piece of steel. If the file can easily bite in and reshape the material, mild steel is a possibility but to the degree the file slides or skates over the surface and cannot bite in, the material is hard and likely higher carbon.
As with other tests, practice and consistency is important for achieving dependable results. Comparing the unknown sample to known samples is an effective way to narrow the possible range of hardness. Note that hardness is only an indicator of carbon content when the steel is in a hardened state and the file test provides best results in conjunction with the break test.
3. Spark Test
There is much written on the method known as spark testing elsewhere so this article will only give it a passing mention. In most instances this test can often be bypassed by employing the history test or file test and then moving directly to the break test for a more specific proof of the amount of carbon in the sample.
This is not a method employed so much for scrap steel as for bloomery and smelting work but there may be occasions where an unusual ferrous object cannot be clearly differentiated between cast iron, carbon steel, or mild steel, and this quick test may be helpful.
The idea of the spark test is to determine the approximate amount of carbon by watching the colour, shape, length, and type of spark that is thrown by a grinding wheel. Using this test effectively and consistently requires practice and repetition.
4. The Break Test
If the history test is inconclusive, or the amount of carbon is still in question, the next step is the break test. The break test can be performed without forging for thin items by cutting halfway through with an abrasive wheel (similar to a nick-break test), but is best done by forging first.
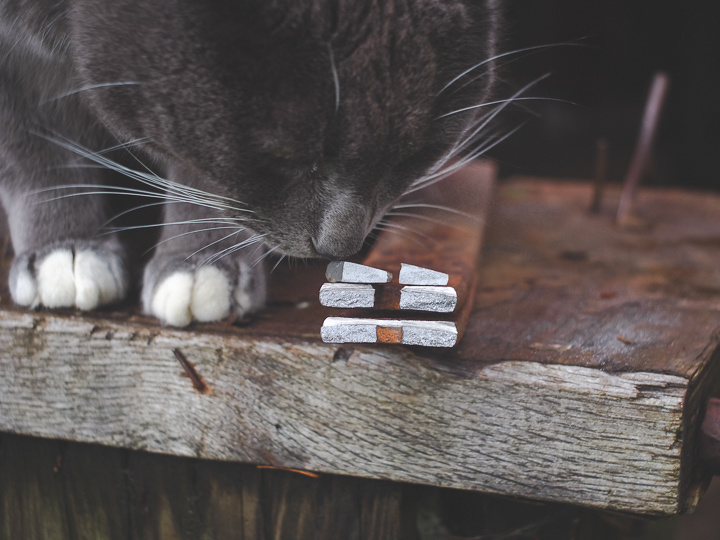
A small corner, sample, or end of the material is forged out to about 2-3mm thick, about 1cm wide and 3cm long. The entire test area is heated to above non-magnetic and quenched in water to render it at full possible hardness. The test area is clamped in a vise and bent or struck with a hammer until it either breaks or bends to 90 degrees.
If the piece snaps off without bending, it can be considered high carbon. If it bends without breaking it can be considered low carbon, and if it breaks sometime after partially bending it is likely somewhere in between. Examining the character of the break can provide additional clues about the grain size and a fibrous break may indicate some form of shear steel. For the purposes of most knifemaking, only the steel that snaps off cleanly will be hard enough to render a good cutting edge.
5. The Forge Test
If a piece of steel has progressed through the tests so far, the next stage is to use a piece to forge a small test blade or a section of a blade. The object of this test is to see how the steel moves under the hammer and responds to shaping. This test can help eliminate strange steel alloys like air hardening and high speed steels that are difficult to apply traditional methods to.
Things to be aware of are stiffness, fractures, shorts, and linear inclusions as well as heavy pitting and the limitations of the original dimensions. Allowing to air cool or annealing and then filing may also reveal some air hardening or extremely wear resistant steels. If the material passes the break test but has linear splits or layering like wrought iron, it may be a form of shear steel.
6. The Yaki-Ire Test
Using the small test blade or section created in the forge test, a test of the suitability of the steel sample for differential hardening is the next stage. Some rough shaping and clean up is done with a file and then clay mixture applied and allowed to dry. Carefully heating and quenching the steel under controlled conditions will help determine if the alloy can handle traditional water quenching.
If the blade survives the quench and a file test indicates appropriate hardness, the next item to inspect is the appearance and location of the hamon line using a coarse waterstone. If the hamon is clearly visible and near or below the placement of the clay, this steel is nicely sensitive to yaki-ire. If it is muddy, non-existent, or well above the placement of the clay, this steel will be more difficult to work with.
A higher manganese steel will harden deeper and the hamon will end up much higher on the blade than the clay. This can be compensated to a point by moving the clay down, though with a resulting loss of detail and turn-back quality.
As an additional step, hardness testing files can give an approximate idea of the difference between spine and edge and help determine if the quenching process needs modification for the steel in question. Repeating the yaki-ire test at different temperatures and with varying amounts of tempering can help dial in the best combination for a certain piece of steel.
7. The Blade Test
The final stage is to make a blade from the steel, from start to finish, applying the information gained in the previous tests. The blade can be used for testing and performance trials in real world situations to determine the suitability of the steel for certain uses. Some areas to be aware of might include sharpenability, edge holding, geometry, hardness, toughness, and resilience, along with effectiveness for different types of cutting tasks.
Spending the time necessary during the testing stages, particularly the forging, yaki-ire, and blade tests can save time, materials, and frustration in the long run. Repeated tests can also assist in determining the best combination of temperatures and techniques to produce the best blade possible from each raw material.
With a few simple techniques, careful observation, and diligent consistency, it is possible to assess the character and quality of an unknown piece of steel for the purposes of historical knifemaking.
photos and more info here: http://islandblacksmith.ca/2016/12/testing-reclaimed-steel-for-knife-making/
Making a habaki (blade collar) from reclaimed copper. Material is scrap copper from an electrical bus bar, forged and bent to shape, silver brazed with hard silver solder in the charcoal forge with fuigo, finish work done with files and rasps.
more photos and info on making habaki: http://islandblacksmith.ca/process/making-habaki/
Materials for the chisagatana style koshirae mounting include Japanese hounoki wood for the handle and scabbard, reclaimed copper bus bar for the habaki, reclaimed brass doorplate for a seppa, buffalo horn for the mekugi and kurikata, and an iron spike salvaged from thirty feet under the Pacific for the tsuba.
The centerpiece of the mounting comes from an outdoor antique market in Kyoto years ago, a gold-accented Edo-era fuchi made from fine nanako-ji (魚子地, fish roe) textured shakudo (a traditional alloy of gold, silver, and copper).
The tsuba sits between two Showa-era zouheitou (officer’s sword) o-seppa with pierced inome (猪の目, eye of the boar) motifs. The saya is finished in black sabi-nuri (rust texture) style ishime-ji (stone surface) made from natural source urushi lacquer and ground tea leaves, and the koiguchi band is antique.
more photos and info on the making of this tanto: http://islandblacksmith.ca/2019/07/inome-tanto/
1. Never pull or jerk the blade out with the power of your arms or you will lose control of the blade and possibly damage the saya (scabbard), yourself, or others. Use only small hand muscle movements to loosen it before drawing.
2. When unsheathing, make sure the edge is up, then pull just enough (a few mm) so that the habaki (blade collar) disengages its tight hold on the saya, then the blade may be easily and smoothly drawn, resting on the mune (spine) as it slides out.
3. One way to accomplish the initial part of the draw is to place a hand loosely on either side of the joint, topmost thumb knuckles together and then squeeze. The knuckles push against each other for only a short distance but it is enough to start the blade out in a controlled manner (this way is slightly more difficult and may take some practice)
4. Another method is to grasp the tsuka (handle) and saya tightly with a little space between your hands and then use your saya thumb or forefinger to push against the other ...
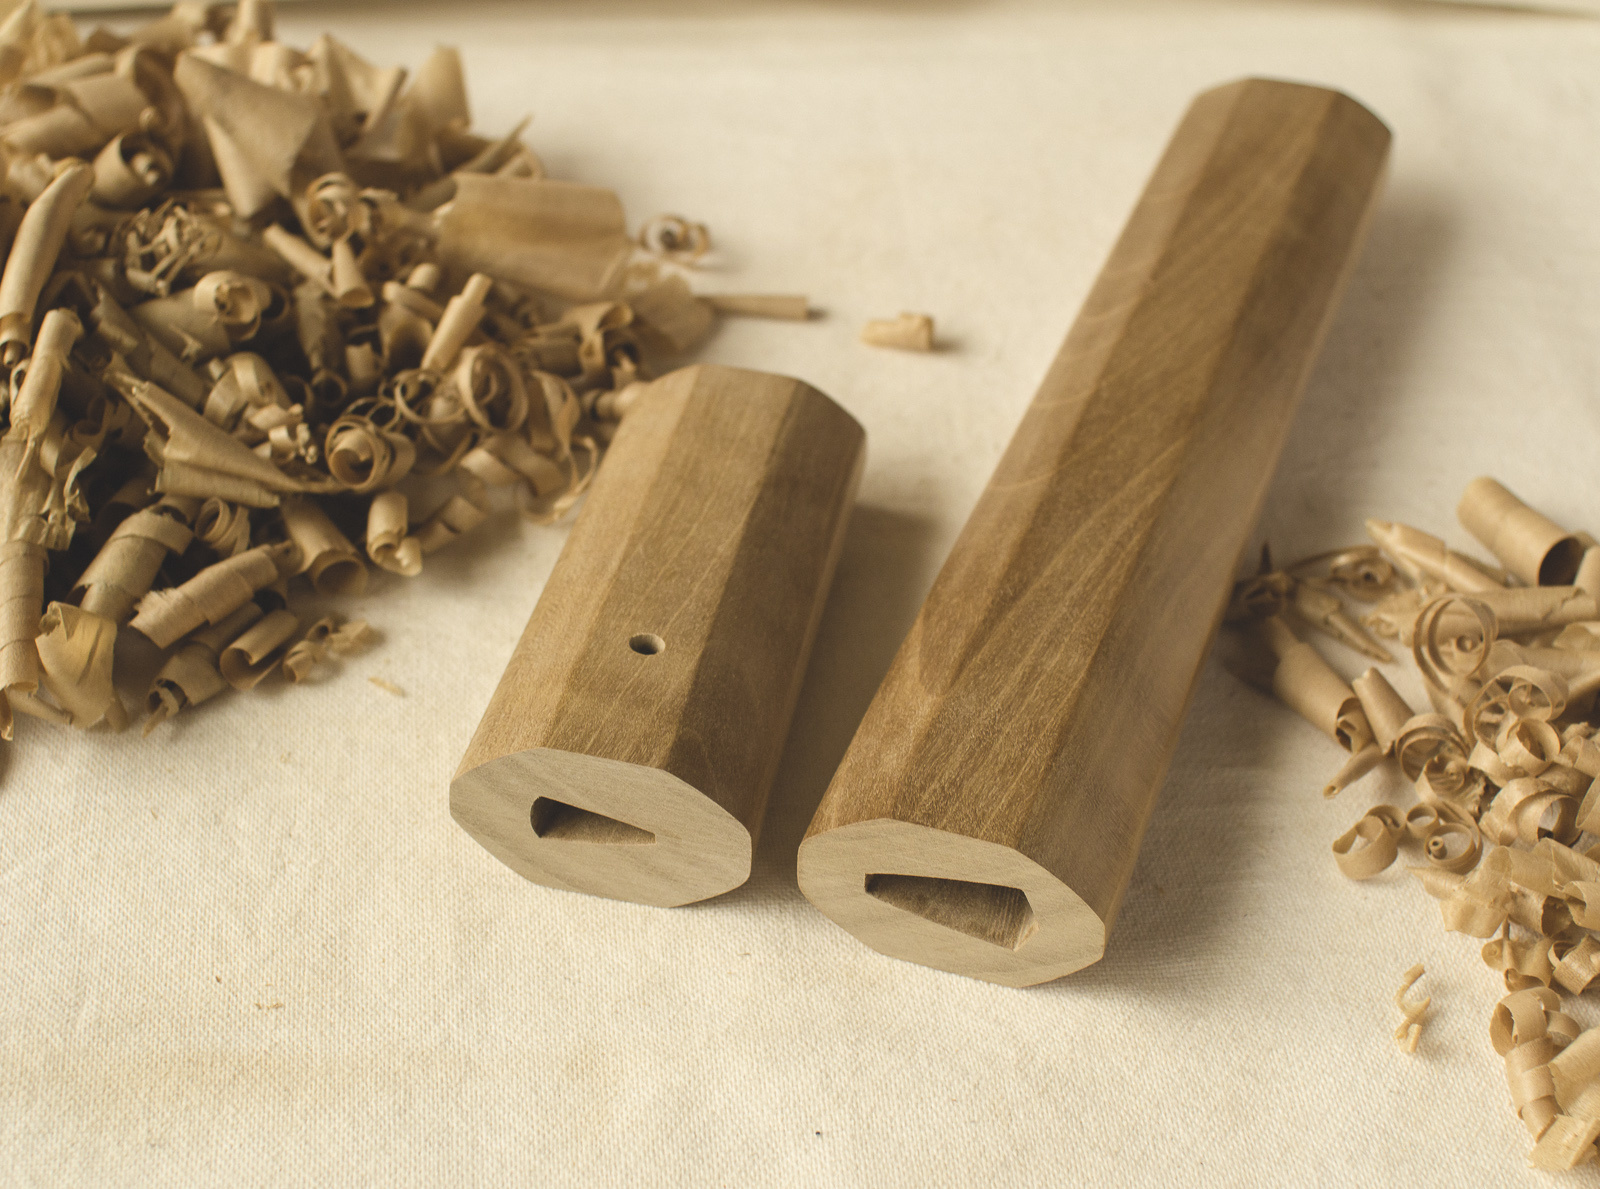
A shirasaya (白鞘) is a simple storage scabbard carved from a single piece of wood. Most often is it made from Honoki (Japanese Bigleaf Magnolia).
The goal of shirasaya is to provide a stable blade storage that is effectively airtight. All of the joints and meeting of koiguchi and tsuka should be as clean and tight as possible for this reason. As a general rule the tsuka should slide on until about 1mm gap remains below the habaki and then a single strike on the palm should take it the rest of the way home. When replacing the saya it should also slide on until about 1mm remains between the tsuka and saya and then moderate pressure should complete the closure. Some shirasaya do not even have mekugi and are carved to proper tolerances for a friction fit only.
Historically a blend of pure choji or clove and camellia oil would be used on the blade. These are oxidizing oils and would slightly lower the amount of oxygen inside a very small space as they react over time. However the ...

Ireko saya (入れ子鞘, nesting scabbard) forms a magnolia lining that protects the blade from the exterior hardwood. The design also allows scabbard makers to remove them for maintenance without splitting the hardwood apart.
more about the process of making this tanto: http://islandblacksmith.ca/2019/08/furusato-tanto/